MAC nginx 설치하기
🙋🏻♂️: MAC pro 14 / M2 / Ventura 13.5 / Homebrew 4.2.2
👨🏻💻: Mac에 nginx를 설치해보자!

🌟 요약
- brew services
- brew install nginx
- brew services start nginx
- nano /opt/homebrew/etc/nginx/nginx.conf
😋 설치
먼저, brew services로 nginx가 설치되어 있는지 확인합니다.

list에 없는 것을 확인했으면 아래 명령어로 설치를 합니다.brew install nginx
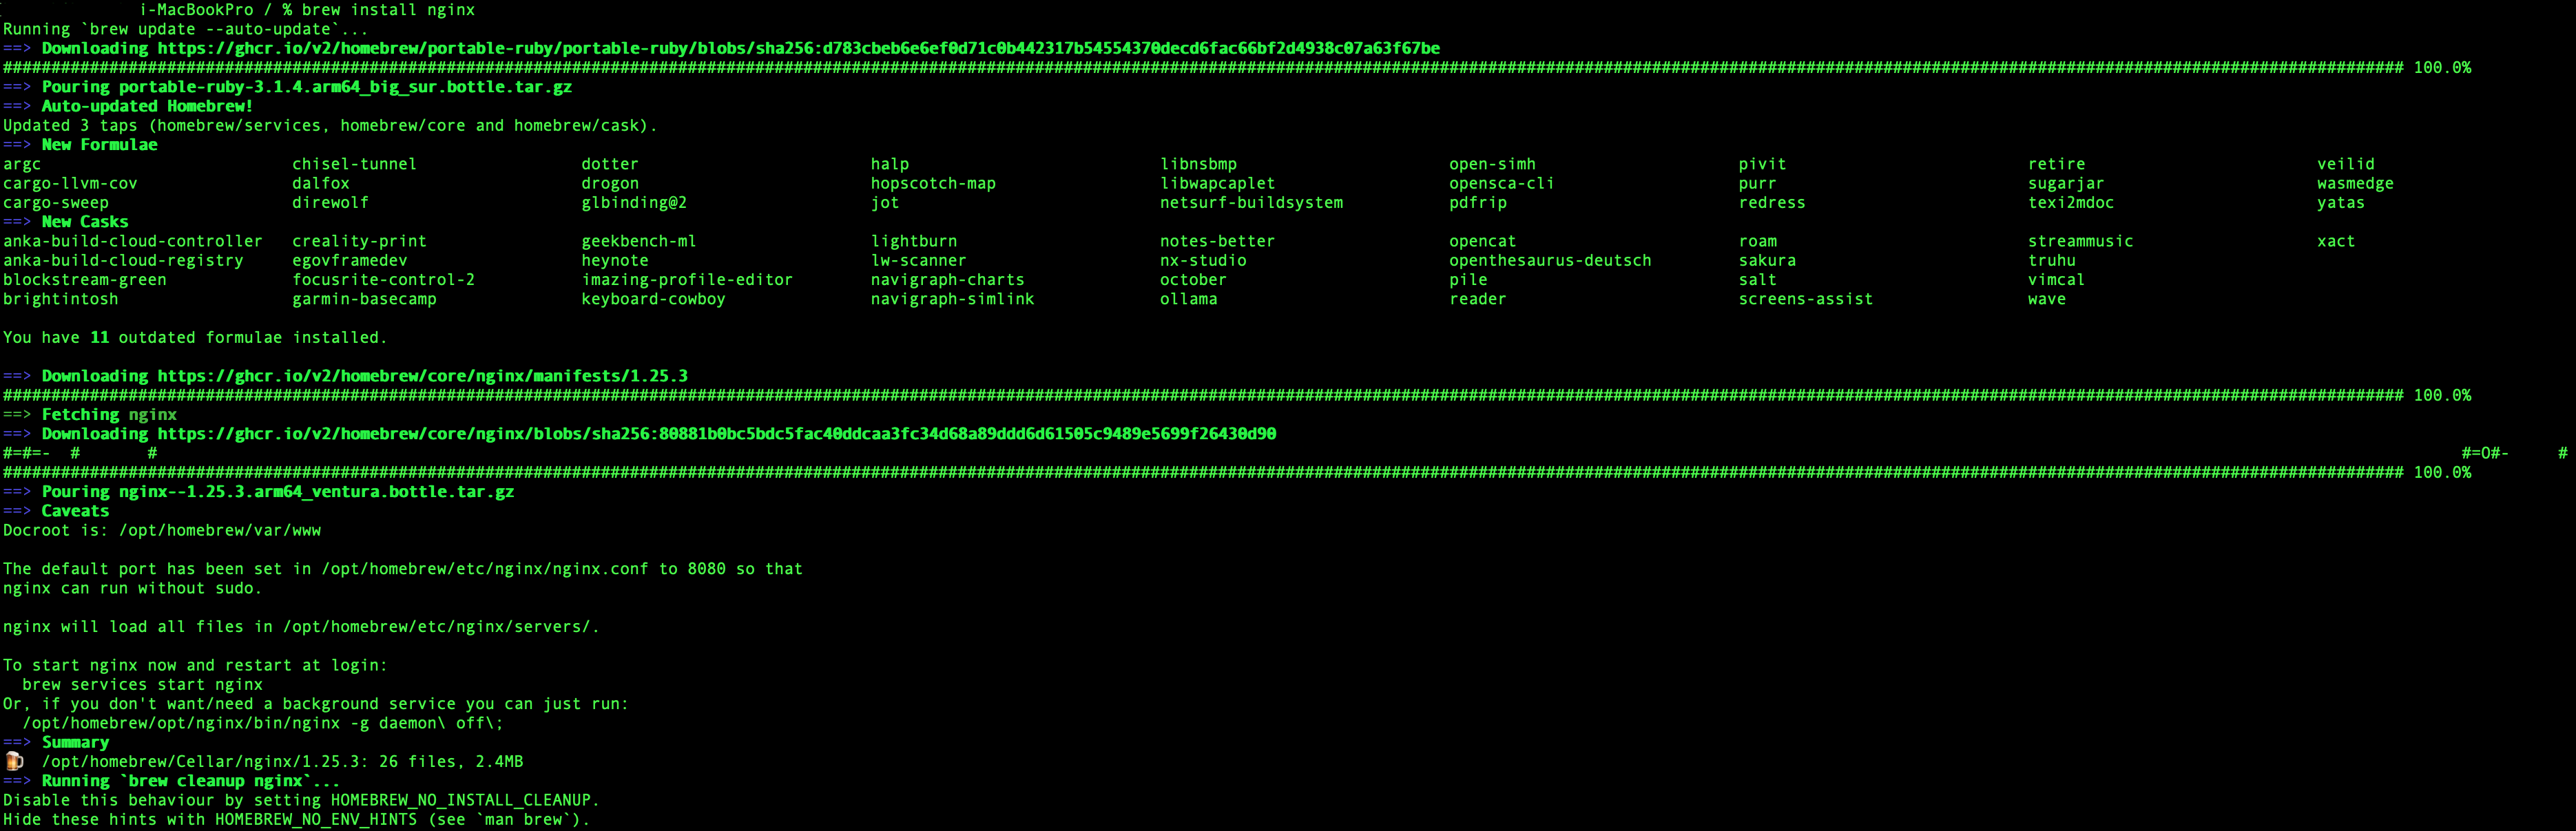
설치가 완료되었고, /opt/homebrew/etc/nginx/ 경로로 설치가 된 것을 확인할 수 있습니다.
🐣 실행
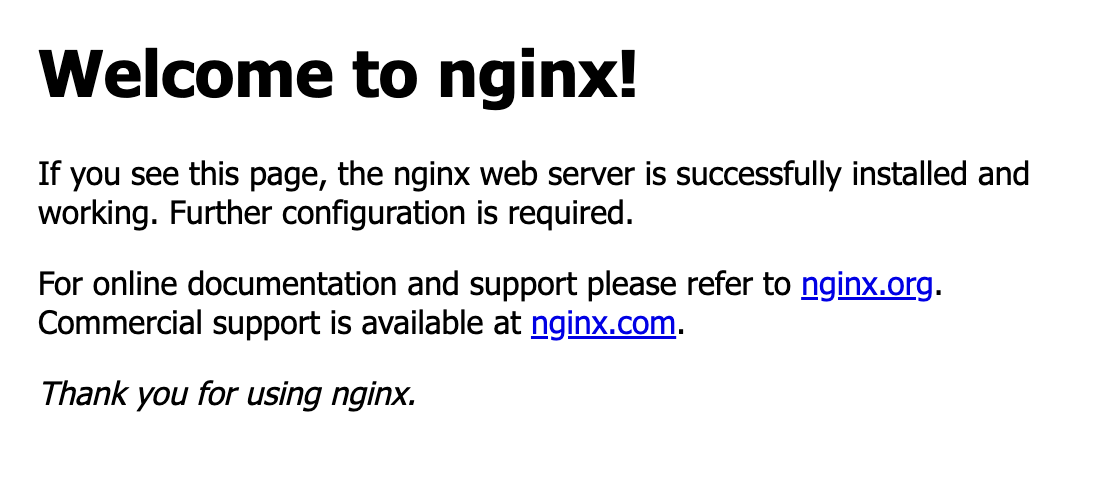
brew services start nginx로 실행시킵니다.

이제 localhost:8080으로 접속하면 아래와 같이 잘 뜨는 것을 볼 수 있습니다.
nano /opt/homebrew/etc/nginx/nginx.conf로 config파일을 수정하여 사용하면 된다.